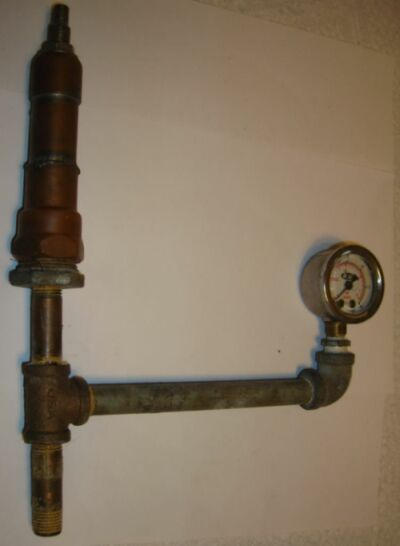
 | This is a pressure tester that we made for
the purpose of checking a blow torch tank and pump. The tank can be pressurized either with
the pump on the tank, or by attaching an air hose to the valve stem connector that appears
at the end of the copper fittings. Any leaks can be detected by watching the pressure guage
over time; any decrease in tank pressure indicates a leak someplace. The most common source
for air leaks is in the pump check valve. it is common for the check valve in these old blow
torches to fail to seal. |
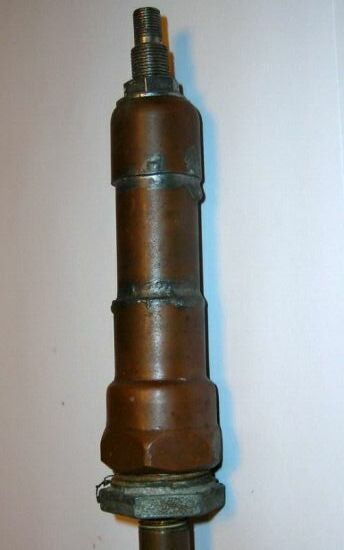 | This is a closeup of the valve stem assembly
from our tank tester. This is not a critical assembly in that it is made up using whatever
plumbing fittings are available. The diameter employed is a function of the diameter of the
valve stem. It is vitally important that the assembly be air tight for obvious reasons. There
are many ways in which a common valve stem could be connected to the 3/8 inch pipe used for the fuel delivery in a common
blow torch. This particular one was made out of copper pipe fittings. It could just as
easily been
made with PVC pipe fittings. Copper however, has the advantage that the connections can be
reheated if ther is a leak during assembly testing. |
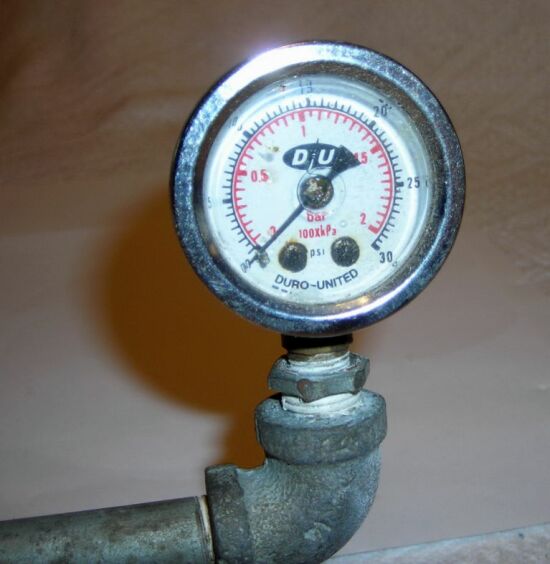 | This is a close up of the air pressure guage on our
blow torch tank pressure tester. The tank is brought up to about 30 PSI and allowed to sit
for several hours to determine by how much the pressure decreases with time. The less
perssure loss, the better. There will be some leakage, and it is not a problem until the
leak gets so bad that the torch will fail to burn the entire tank of gasoline without
repressurizing the tank. The pressure testing device, previously mentioned, is intended to
be a diagnostic tool as opposed to a device for taking quantitive measurements. |
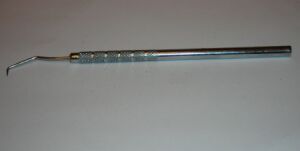 | There are many occasions where it is necessary to
clear a small obstruction from some location in a blow torch. here is a common dental pick
that is available at most flea markets. this particular one has a very sharp point which
makes it handy for digging out the sealing compound in a check valve or for digging out the
packing string from a packing nut. This tool can be used to clean out a plugged orifice if
the technician is very careful not to enlarge the orifice in the process. Every blow torch
tool kit should have one or more dental picks of different sizes. |
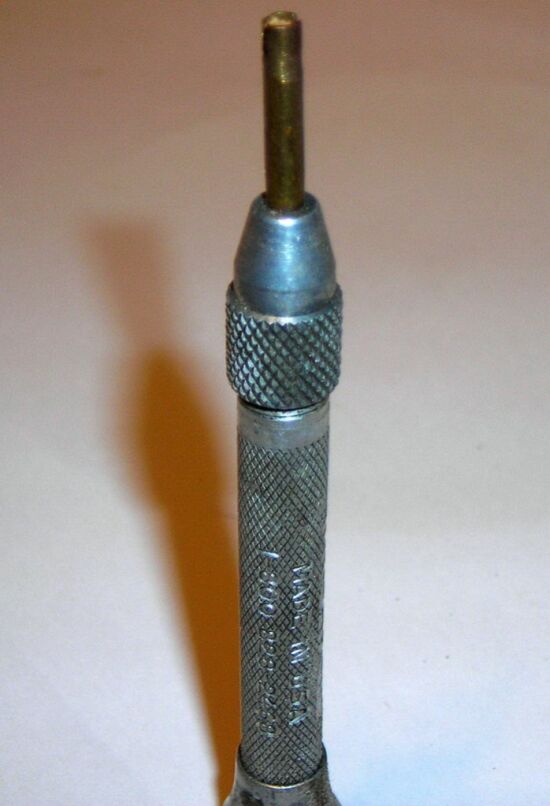
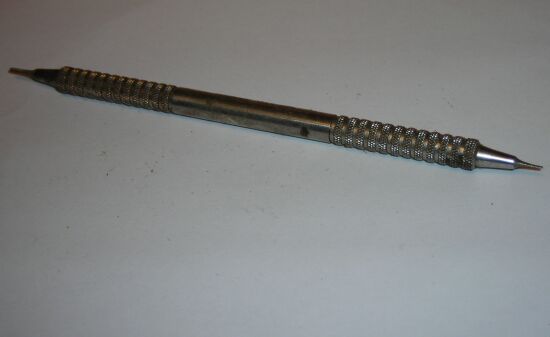
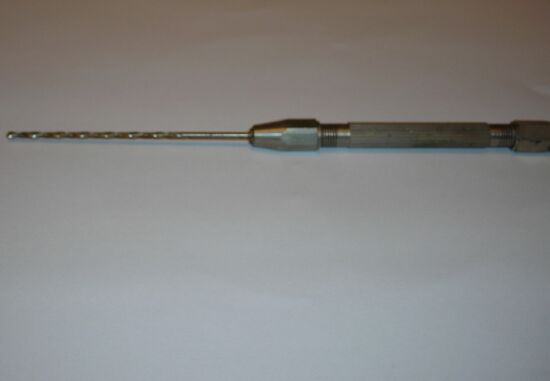 | This is a very simple device that was made
to clean out the burner head undervein and the valve stem nest. It is fashioned from a common
pin vise available at most hardware stores, and a small twist drill. There are many times
when it is helpful to have a means for lightly drilling away an obstruction. This tool can
be used to help free up a rotted wick so it can be removed from the wick tube. This tool is
helful in clearing away any carbon build-up in the burner head undervein. |
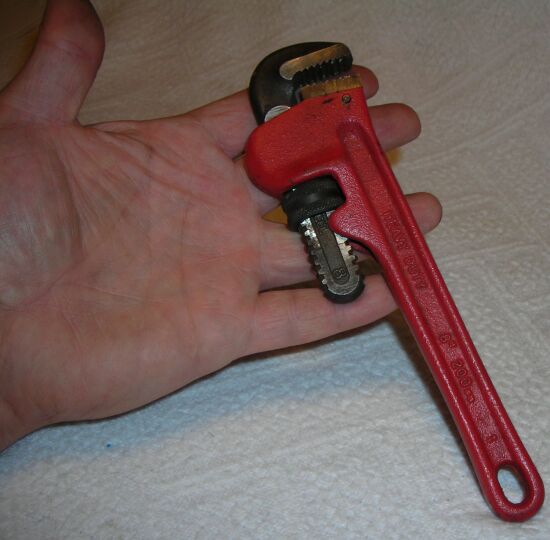 | A pipe wrench is an essential item for blow
torch restoration. A fairly small one like the one pictured here, is plenty good for most
torch disassembly operations, It is usually wise to place the burner head in a vise and
rotate the tank until the the wick tube can be unscrewed from the tank. The pipe wrench is
then used to free the wick tube from the burner head. |
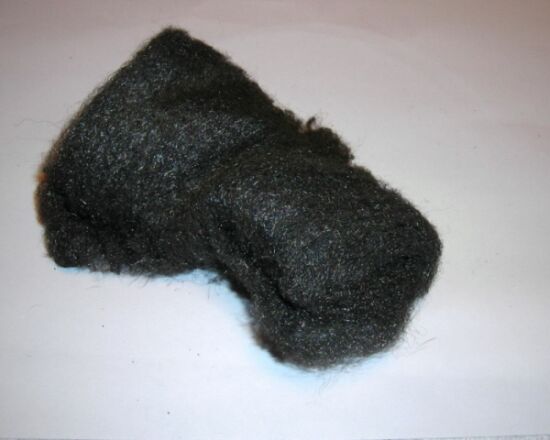 | Steel wool is very helpful in
restoration and repair work on old blow torches. It is good practice to clean all parts
removed with steel wool to break loose any particles that potentially may later plug the
torch. The wick
tube can be made brightely clean with the use of steel wool. Tanks can be cleaned to reveal
any cracks or rust-through situations commonly fond on the bottom of some torches. |
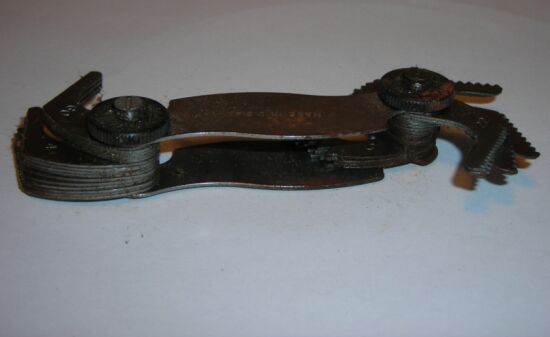 | Here pictured is a common thread guage. It is
occasionally neccessary to replace the brass portion of a two-part wick tube. The thread
guage is used to determine the required thread pich for the replacement wick tube or for
other threaded component. |
 | This is an interesting device made with a pin
vise and small diameter brass model tubing. A notch is cut into the end of the brass to hold
the end of the spring wire. The wire is then wound up on the brass for the required number of
turns.This
device is used for rewinding replacement springs for a check valve. The diameter of the
tubing used is a function of the size spring being replaced. |
 | Installing the wick tube and burner head
assembly back into the tank can be challenging sometimes. This is because the wick strings
can be difficult at times to cram back into the tank in an orderly manner. This neat tool was
made
to simplify that process by providing a means to poke the wick strings into the tank fuel
nipple fitting. The
device was made from an old screw driver. First, the old blade was cut off and the end of
the secrewdriver shaft was ground flat; the screwdriver shaft then had the appearence
of a drill rod with a handle on it. Then we used a grinding wheel to cut a notch in the
shaft as close to the end as possible. Then we bent a finishing nail into a U-shape and
brazed it to the notch we just ground. Thus, the device has a uified appearance. We've used
this little tool on several occasions and it has saved a lot of frustration and time.
Basically, you put the wick strings into the "U" then push the wick strings through the
wick tube fitting and then into he tank. |
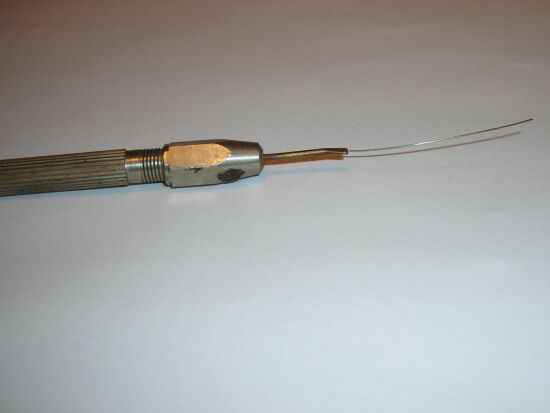 | This tool was made from a small size
piece of brass model tubing and some .014 music wire. The brass tubing was then crimped, much
like you would do in attaching a spade lug to a wire, over the music wire. You must use care not
to crimp so tight that it results in breaking the music wire. The crimp has to be tight enough to
reliably hold the music wire. Any tighter than what is required, is overkill.This assembly is
then chucked up into
the other end of the pin vise referred to earlier. This is used to clean out plugged
orifices. This particular size music wire is the same diameter as a gasoline blow torch
orifice, and can therefore double as a circular feeler guage to determine if an orifice is
enlarged or if the orifice is sized for gasoline, fuel oil, etc. Sometimes you may have
what you thought was a gasoline torch only to find that it is really a kerosene torch. There are
times when the only way to be sure is by measuring the diameter of the orifice. Alcohol and
gasoline miniature torches are often confused. Sizing the orifice diameter can reveal which kind
of torch you have, along with other clues that are related to the way the burner head itself is
made. |
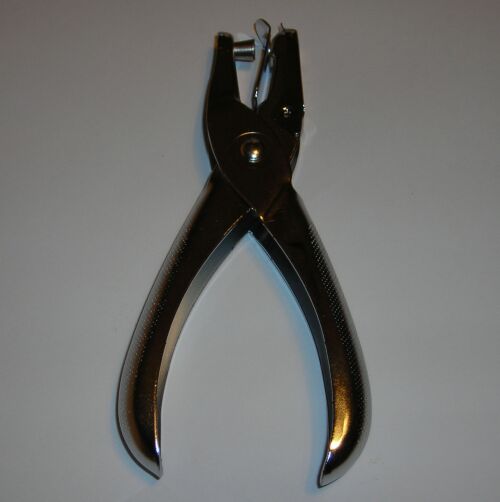 | This common hand held paper punch is handy for preparing
replacements for
worn out pump leathers. These punches are available at most office supply stores and are very helpful
for making a clean hole in the middle of a new pump leather. A good quality paper punch
should be purchased so it will make consistent, good quality holes and so it will give a
reasonable amount of service reliability. It does not have to be a fancy one; they do need
to be
reliable. |
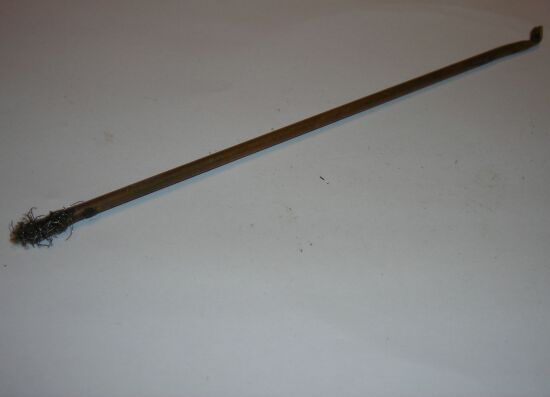 | This little brush was made for cleaning out the
undervein on a blow torch burner head. The bristles were pulled from a small wooden wire
brush that was a bit bigger than a tooth brush. The shaft of the brush is a small
length of brass model tubing. The size is not critical so long as it affords reasonable
strengh and it is small enough to fit into the undervein passage. This tool is helpful
for breaking free stubborn carbon deposites from the wall of the undervein. |
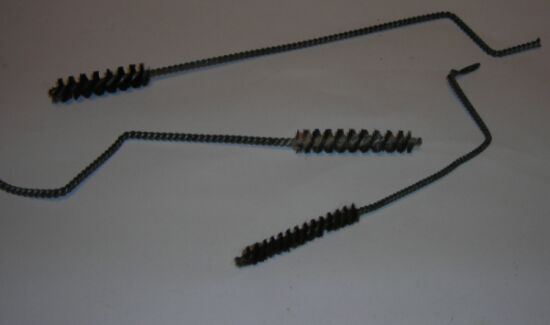 | Here is a modest collection of stiff plastic-bristle
brushes. They can be found at hardware stores, specialty tool suppliers and flea markets.
These brushes are used for performing the final cleaning of the undervein. These particular
brushes are modified versions of the original brushes in that, the original brushes had a
straight shaft with a loop at the end. The loop was cut off and the shaft was then bent into a
crank shape as shown here. This allows the brush to be rapidly rotated by turning the crank.
A version of these brushes have occasionally been modified so they can be chucked
up in an electric drill. Care must be taken so the brush shaft does not become twisted and
wrap itself around your work, or around fingers and hands. Extreme care must be used when
using power tools around old gasoline blow torches. |
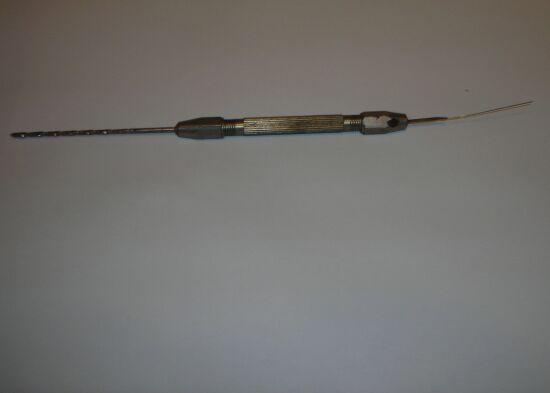 | This is a distant shot of our pin vise with a drill
at one end and the orifice cleaner at the other. A close-up of each end appears elsewhere
on this page. |
 | Here is a dental pick that has been
modified. The sharp probe end was broken off and then ground down with an electric grinder
which results in a short, but larger diameter pin at the end. This modified dental pick was
made for
cleaning out the end of the air pump where the check valve stem seal hits it. Over a long period
of time, the sealant material in the check valve stem can plug the end of the air pump when
it eventually rots. This device provides a safe way to ream out the air pump hole to clear
out any debris that may have collected there over time. |
| | |
| | |
| | |
| | |
| | |
| | |
| | |
| | |
| | |